There’s something magical about watching an idea move from a messy sketch to a physical object you can hold in your hand. For me,
3D modelling has become more than just a way to make things, it’s a ritual that starts with a pencil and ends in PLA.
In this blog, I’ll walk you through my process from initial inspiration all the way to
a ready-to-print STL, with a few quirks and lessons I've picked up along the way
Paper First, Always
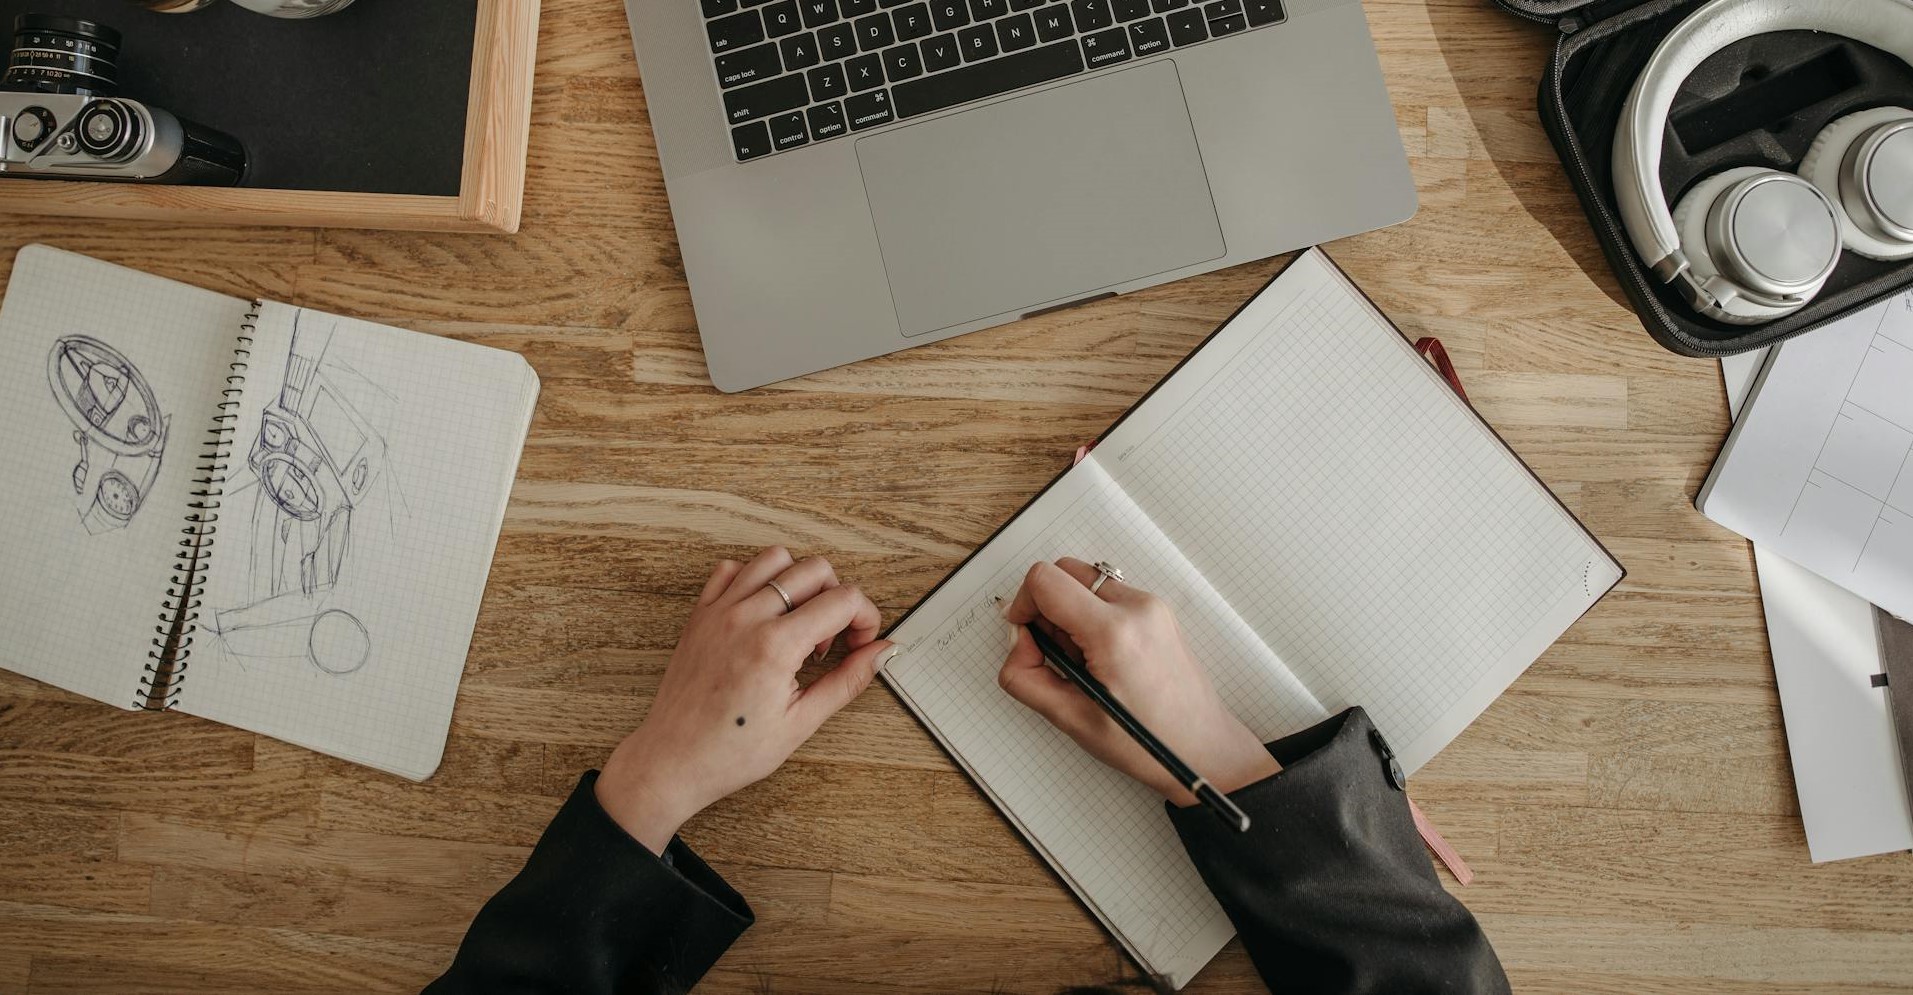
I always start with sketching on paper.
There's a kind of looseness and freedom to it, you’re not bound by tools or grids, and sometimes the coolest ideas come
from a stray line or a weird curve that accidentally makes its way into the drawing.
My inspiration often comes from scrolling through social media and design pages.
Pinterest is a goldmine, but I make sure to stay focused by searching with intent —
things like "phone stand" or "pen holder" to guide creativity.
Random exploration is fun, but directed inspiration keeps things productive.
Modelling Software
Once I’m happy with a concept, I move to Rhino 3D. It's been my go-to software for modelling, I love its precision and flexibility. While I’m not using any pro-level tricks (yet), YouTube has been my ally. Whenever I hit a wall, I dive into tutorials.
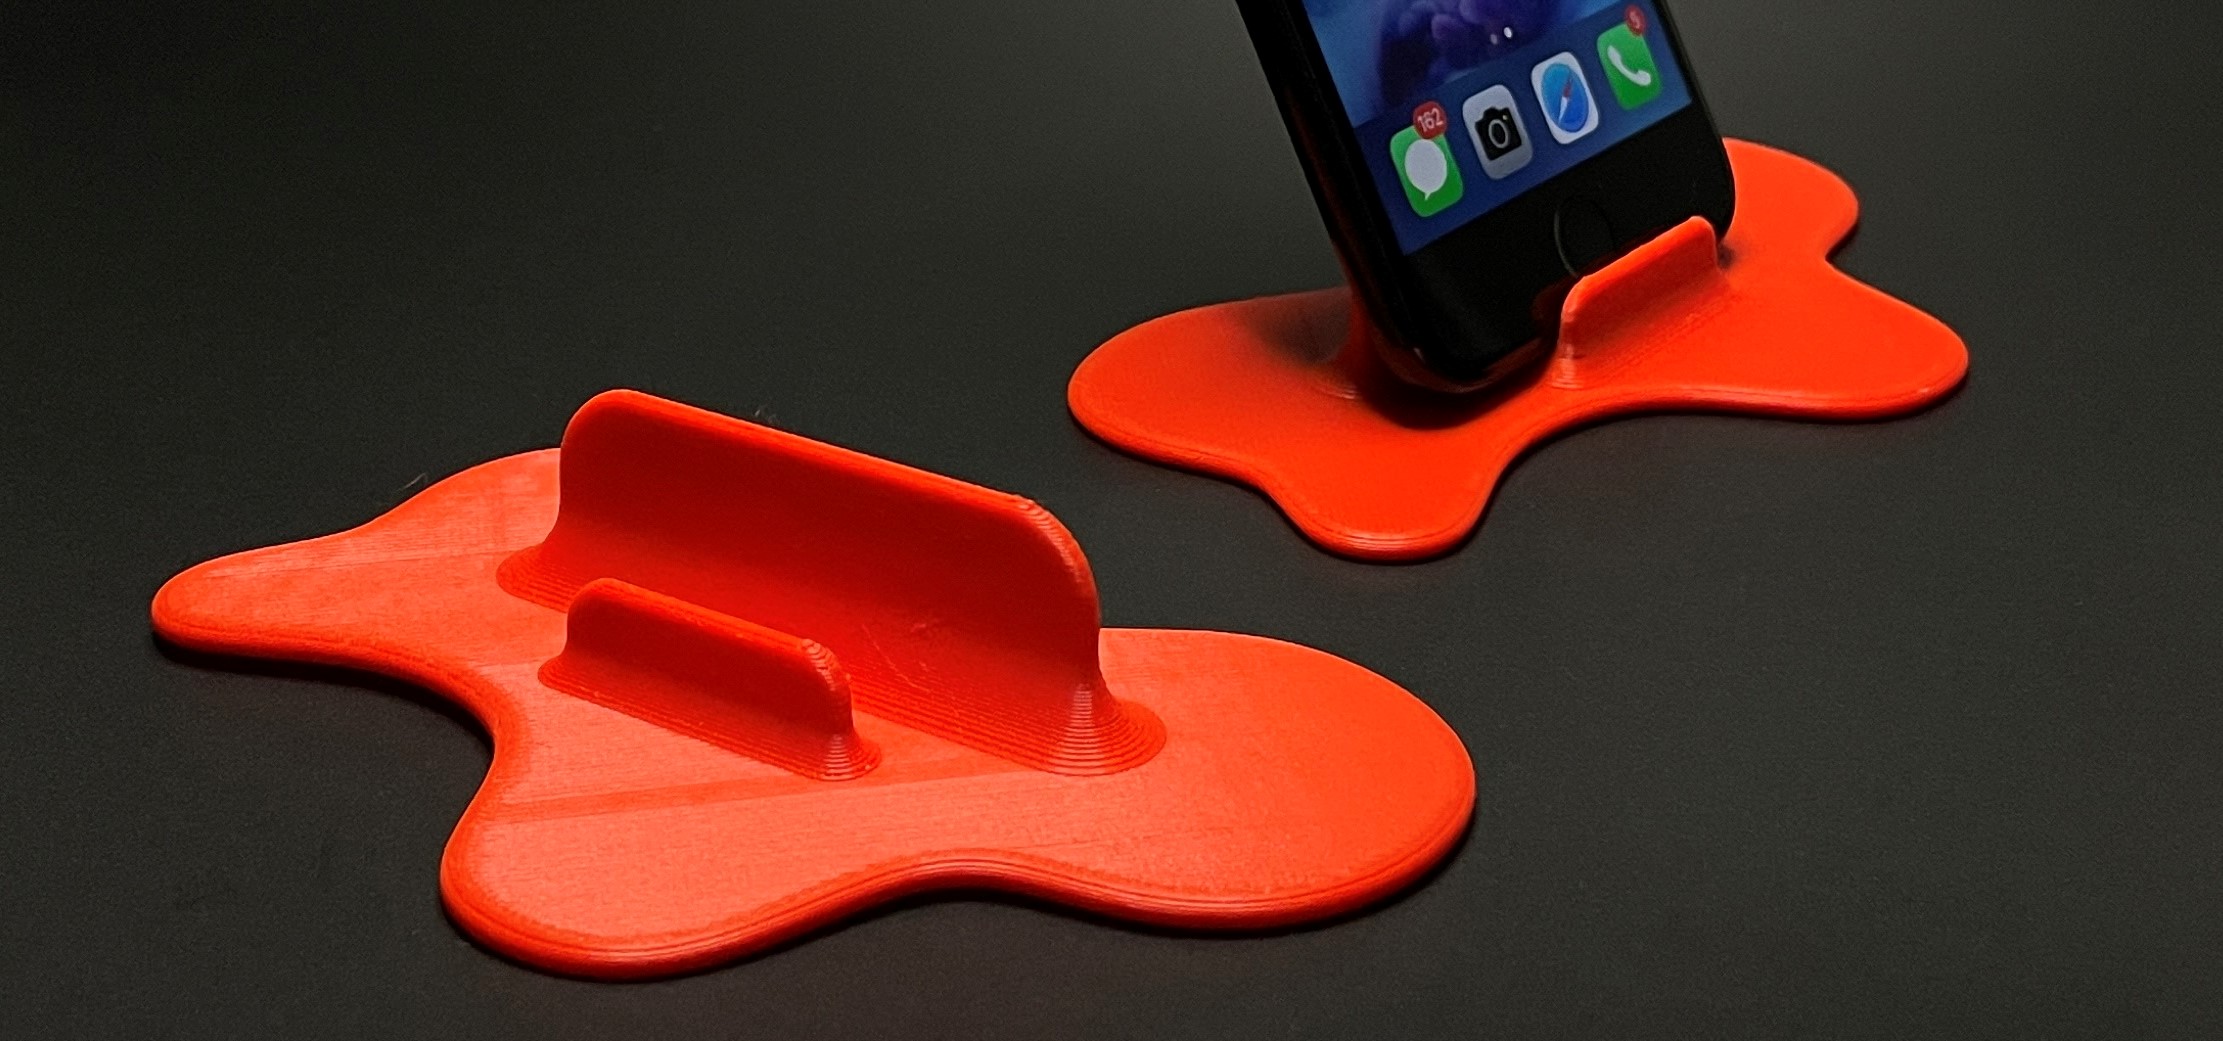
Design Philosophy — Minimal and Functional
My goal is always to use the least amount of material possible without compromising on form or function. That also means faster prints and less filament wasted. One detail I always include is a chamfer at the base of the model — specifically where it contacts the build plate. Why? Because of the infamous "elephant foot" effect. If your bed’s not perfectly levelled, the first few layers can bulge slightly. That chamfer not only compensates for that but also gives the model a cleaner edge when removed from the plate.
Always Test Prints
Before committing to a full print, I always test out parts that need to slide, snap, or fit together. It helps me fine-tune tolerances and avoid a painful realization at the end, like wasting half a spool on something that doesn’t even assemble right. Ask any 3D printer owner: it’s better to spend 30 minutes testing a small joint than 6 hours fixing a bad assumption.
Slice with Intention
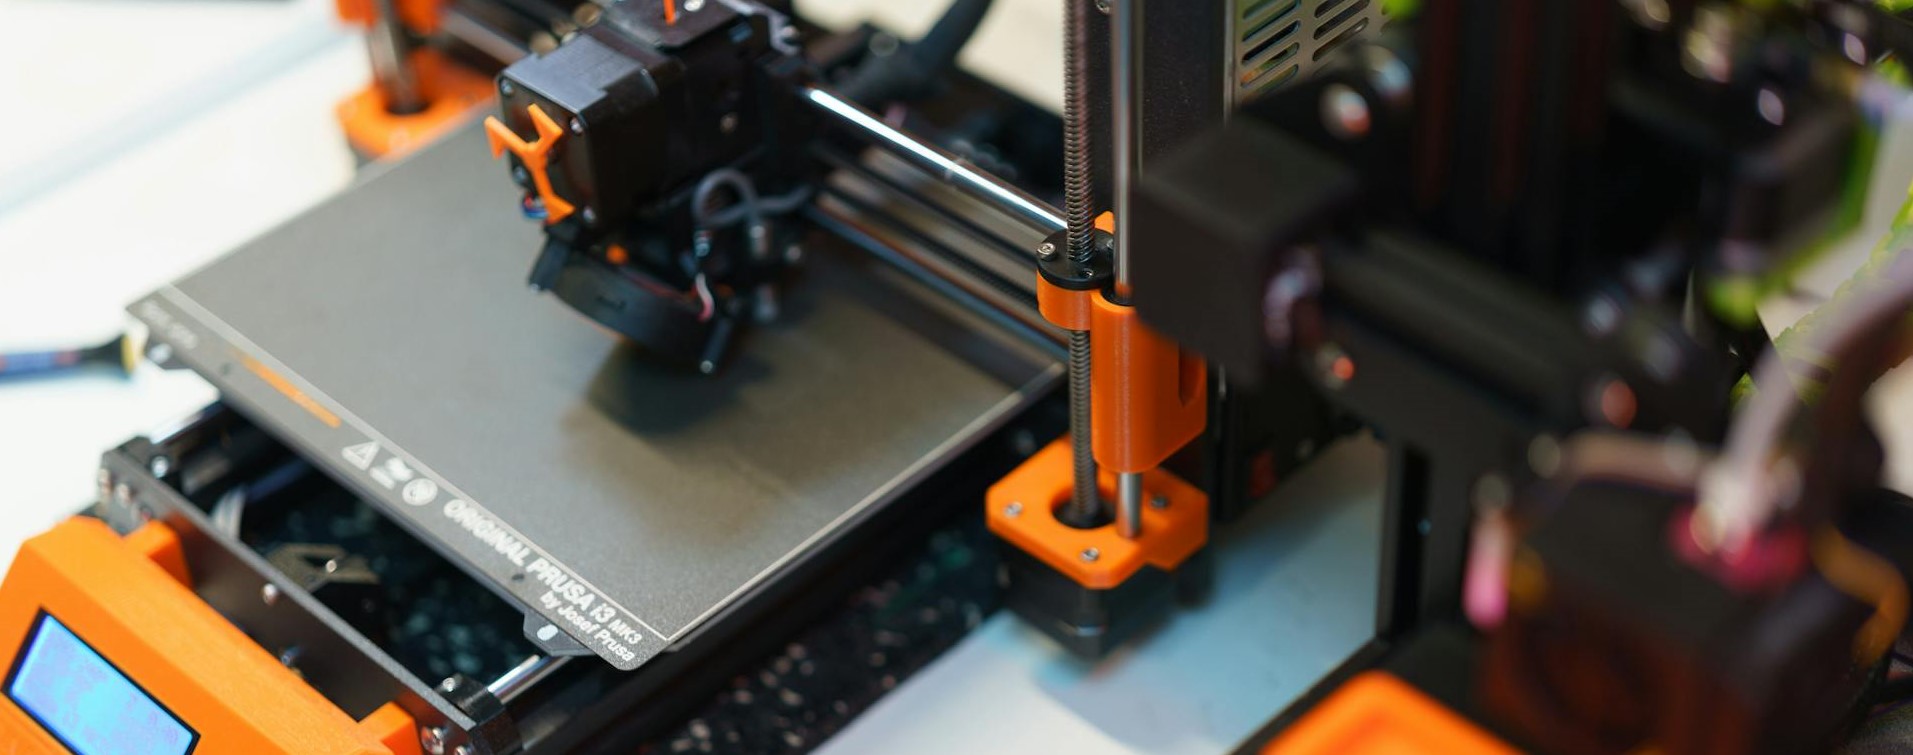
Since I use an Ender 3, optimizing slicer settings is key.
I usually go for a 0.28mm layer height — it speeds up the process significantly without sacrificing too much quality.
For infill, 10–20% cubic pattern is my sweet spot. It gives the model enough strength while keeping the filament usage in check.
And here’s the file-naming system I go by:
Modelname_10g_1h20m
That’s: name, estimated weight in grams, and time to print.
It keeps my folders clean and helps me quickly decide what I can squeeze in between print sessions.
Conclusion
Every model I upload or share has been through this loop — from rough sketch to refined STL. It’s a process I’ve grown to love not just for the final result, but for the creativity, problem-solving, and quiet satisfaction it brings.f you're just getting started, don’t stress about perfect models or fancy software. Grab a pencil, let your ideas flow, and just start building.